Search This Blog

Showing posts with label memory keeping. Show all posts

Project Life 2012

>> Friday, January 6, 2012

Wow, are we really almost a week into 2012?  I can't believe it.  I feel like time goes faster every year.

I've spent the past month getting ready for Christmas, doing all the fun Christmas activities like making gingerbread houses and watching The Polar Express.  I've volunteered in my kids' classrooms and helped with Christmas parties.  My family spent Christmas Eve in downtown Cincinnati taking a carriage ride, seeing Santa, shopping, and having a great dinner overlooking Fountain Square.  And the day after Christmas we headed to sunny Miami for a week where we had great weather.  Unfortunately, we had to get back to real life and I didn't get to stay long enough to watch my Mountaineers demolish Clemson in The Orange Bowl, but seeing it on tv was pretty great too.  I also worked at the SPCA for a couple of days in early December, doing exams, vaccines and microchips.  It was fun to work again and a great easy way to get my feet wet after a 4 year absence!

I hope everyone had a great holiday season.  I always find it a little hard to transition back to the routine after the holidays, especially knowing how long winters seem in Ohio.   I am still writing thank you notes for Christmas gifts and trying to wrap that up also.

I have written several posts about scrapbooking before and I'm sure you're all aware of my love for digital scrapbooking and photoshop.  This year when I finished my yearly book it wasn't nearly as fun for me as it has been the past 6 years so I decided to try something different to document 2012.  I will still do my yearly digital scrapbook because I love the result too much to abandon it, and I also love that I can print multiple copies as gifts.  At this point, my family expects it  so I'm stuck!  But I thought I would add another scrapbook for just our immediate family this year, one that is a little more personal and maybe captures some of the more mundane aspects of everyday life.  I am choosing a format that will allow lots of flexibility and will also let me incorporate some of the digital scrapbooking into it.

So I decided to do "Project Life".  This system is the brainchild of Becky Higgins, and it is designed to make scrapbooking very easy.  The basic kit looks great, but you can customize it as much as you want and make it as elaborate as you want.  It seems to be a great way to start scrapbooking for those who have never done it before and are intimidated by the idea of creating everything from scratch.


Here's the link for the Becky Higgins website that describes Project Life.  You order a core kit that is made up of journaling and decorative cardstock pieces, a binder (I think you could use any 12x12 scrapbook with rings), and page inserts which come in multiple configurations. 

Here's what I ordered so far.  I can't wait to get it!!

Clementine Core Kit


I'm waiting to order my page dividers because they are out of the kinds I want (I have a few that will work to start with).  I am also waiting for the black binder, which should be available in a couple of weeks.  I prefer the black exterior to the more colorful ones.

If you're looking for a way to organize your photos and memories in 2012 this is a great system.  Take a look at Becky's blog and you'll see many different ways people have used the basic system to create a personalized scrapbook.


Read more...

Christmas Ideas Week 6 - Photo Books for Grandparents

>> Wednesday, November 30, 2011

I always swear I will be mostly done with Christmas gifts by this point in December, but no matter how early I start and how hard I work, I never am.  Maybe one of the reasons is because I always make a year-in-review photo book, and I want to include November, so that means I can't finish it until early December anyway.

I know I've probably worn you out on my photo books, but I have to share them one last time.  I started making a year-in-review/scrapbook type digital photo book 6 years ago after my oldest son was born.  My husband is lucky enough to have 3 grandparents still living, and one set of great-grandparents.  In all, my kids have 2 sets of grandparents, 3 great-grandparents, and 2 great-great grandparents.  How lucky is that?  I lost my last grandparent over 4 years ago, so I think it's pretty amazing that my kids are blessed with so many. 

It does make Christmas a little hard though, because all the afore-mentioned grandparents and great-grandparents are lucky enough to have alot.  And although they are all so gracious and excited when it comes to accepting gifts (we could wrap up anything and give it to them and they'd fuss over it), you always want to give someone a gift they really like.  To address that, I came up with the idea of doing this scrapbook and ordering multiple copies for each set of grandparents.  With the exception of my husband's parents, all of them live some distance from us too, so they miss alot during the year.

They love the books, and there is no way at this point that I could get away with not doing it.  There would be major disappointment.  They all love to show their friends the books, and even though it's not really a novel idea, their friends (who are usually grandparents themselves) all seem to love the books too.  An added benefit is that I get a yearly scrapbook for us because I order myself a copy.  This time of year, I am always struggling to finish it and wondering why I had this brillant idea, but truthfully without the deadline I would probably not finish them and then I would forget to record alot of our memories.

I make my pages in Photoshop with digital scrapbooking materials, but you can create a book much quicker with Shutterfly or any of the companies that make photobooks.  For the first 3 years I made 12x12 books through Shutterfly and loved them.  Last year I found a groupon deal for Picaboo and made 8.5x11 books.  I saved alot of money that way and although I like the 12x12 better, I can't turn down over $150 in savings.  I'm doing a similar book this year through another company, again a groupon deal.

I try to do a summary for each month and put my pages in chronological order.  Then sometimes (depending on how sappy I'm feeling!) I write a little letter at the beginning or ending.  Here are a few pages from last year and this year.  Some are 2 page spreads shown together, some are single pages.


Read more...

Photo Tips for Kids

>> Tuesday, October 11, 2011

This is the time of year I start going back through the photos I've taken since January and preparing my yearly photo books.  When I get my book done I'll show it to you, but I'm pretty far from completion at this point.

As I was going through my photos, I thought of a couple of tips to share.  Again,  I am far from an amazing photographer, but I do enjoy taking photos of my kids and learning how to make them better.

Tip #1:  Get close.  I notice that sometimes I get stuck in a rut of taking whole body shots that all end up looking similar.  Some of my favorite shots are the close-ups of my kids' faces.  When you compose your photo, remember a basic rule of composition called the rule of thirds.  Basically, you do not want your subject's eyes centered right in the middle of the photo.  Divide your photo into thirds, and place the eyes at the 1/3 mark (either horizontally or vertically) rather than the half.  I'll try to find some examples of that later, or you could google for lots of tutorials.  But the placement makes a huge difference in the shot.  Here are some close-ups.  I use a 25-70 mm lens and at 25 mm you do get some facial distortion (most notable in the first picture).  I personally like that look for this purpose, but for a more formal portrait it might not be desirable.


This one could benefit from a little cropping to bring his eyes up a little.  They're too centered here.
 Tip #2:  This is similar to my first tip, but for this one focus on things other than faces.  Toys, hands, feet, hats, zippers, boots,etc.  As I go back through some of these pictures I've taken, I'm amazed at how many memories about my child from that age come back to me by looking at the photo.  For example, this first picture -- my oldest son used to beg for cookie sheets full of snow to bring inside so he could drive trucks through it.  By snapping a picture of that it enables me to remember forever something I may not have otherwise.


And this one- we spent hours watching The Polar Express, driving his train, and listening to the Polar Express soundtrack.  He is out of that stage now, so it makes me smile to remember that.  And I'd forgotten how he used cotton balls to represent snow.
And although this one isn't the greatest quality, who doesn't love a monster truck bus driven by a toddler in pajamas with green marker on his chubby little thumb?

#3 - change your angle.  Experiment with different angles to make more interesting photos.  The following show my son in the same spot.  I just changed positions.

4- Be creative with your location.  I'm mixing snapshots and portraits in this post, so hopefully that isn't confusing.  With a snapshot, you are taking photos of life as it happens.  You're just capturing the memory.  Don't try to control what your subject is doing or where they're standing, don't ask them to smile, or even look at the camera.  Just focus on capturing the moment.  You can still change your angles, composition, play with your camera settings, etc.  Just don't try to pose your kids.  So this tip is for when you are trying to take a more posed portrait type picture.  I am planning another post on locations for photos, but since I had the above photo up I wanted to show this example.  In the version above, the background isn't so desirable at first glance.  But with cropping, the shape of the buildings disappear and you just get the pops of color.  I should add that technically, it is not a great photo because the junction of the concrete and base of the buildings forms a line that goes across the top of his head.  I am terrible about noticing those things sometimes, and other times I just don't really mind it.  Here's the same photo above but cropped and edited with more of a color pop,


Read more...

All About Me Albums

>> Wednesday, September 21, 2011

Beth's white chicken lasagna looks so good!!  I can't wait to try that one.

Today I want to share one of the ways I try to record some special things about my kids at each age.  I have mentioned here before that I am a huge fan of Photoshop Elements and digital scrapbooking.  I abandoned paper scrapbooking some time ago, because it just wasn't for me.  I used Photoshop Elements to create this project, but I really want to focus more on the concept because it could be done with paper scrapbooking or using a service like Shutterfly or Picaboo to create a book.

Starting about 18 months ago I decided to create a photo book each year for each of my kids.  I began a yearly family book with pictures from our trips and adventures when my son was born 7 years ago.  I used to dedicate a page for each kid in the yearly book to talk about their personalities, but I decided that I wanted to do a better job of recording more about them at each age. They change so much from year to year.

This was the first one I made, and I have since made one for my older son.  I am behind, of course, and need to finish up two more.

First gather your pictures.  I like to use the same "photo session" for the book since I have random snapshots galore in our family books.  But you could use whatever you wanted.

Then, I gather a list of questions to ask them.  Those will vary according to age, and I'll give you some ideas below.  They may not answer all the questions, so I choose from those I've asked when I'm putting the book together.

Next, I try to think of other things I want to add.  In this book, I took some washable paint, coated my son's hand and foot, and pressed each on a blank sheet of paper.  Then I scanned the prints to include them in the book.  Other examples would be art work, writing samples,  etc.  As they get older, have them answer some of the questions in their own hand writing and scan those in.

Finally, I assemble the book and print it.  The whole project really doesn't take that long, and it's such an amazing keepsake. 


Obviously, at two the ability of a child to answer "interview" questions is limited.  Between 3 and 5, kids give some really cute answers to questions.  And at my older son's age, 7, the answers are very thoughtful.  For this book, I had a couple pages I left out that contained more of his favorites -- songs, shows, books, etc.

I printed my book through a company called WHCC; the print quality is very high and the paper I chose was very thick.  Other options are shutterfly, picaboo, mixbook, and blurb to name a few.  I only have experience with a couple of those, so read some online reviews before choosing and wait for the sales.

And here are some questions to start with:
Favorites -- food, movie, song, tv show, book, toy, game, color, animal, smell, place to visit, etc
What job do you want to have when you grow up?
What is something your mom always says to you?  dad?
What makes you happy?  sad?
What is your favorite school memory this year?
What is your favorite class at school?
Who is your best friend?
What are you good at?
What does your dad do at work?  your mom?
What do you like to do the most?
What is the best gift you've ever gotten?  given someone else?
What do you worry about?
What makes you special?  What makes your family special?
What are the things you can't live without?
If you could be invisible for a day, what would you do?
What is the hardest thing about being a kid?  The best thing?
What 5 words describe you best?
If you were in charge of the world, what rule would you make everyone follow?  (the answers to this question are sometimes amazing and usually really sweet)


Add any questions you can think of!  Ask your child if there is anything else they want to add about themselves.

Read more...

Yearly Photo

>> Wednesday, September 7, 2011


I saw this idea on Flickr a few months ago (I made this in March), but recently I've seen several different variations floating around Pinterest.

For a yearly photo that records a little more information than a picture alone, you want a photo of your child against a solid colored background.  This is a blue door in downtown Lebanon.  Position your child so that you have a good bit of blank space in the photo.  In this one, my negative space is to his side, but you could also position your child sitting and then leave blank space above them.  They could even be holding some balloons to the side.  Or if they are really into a certain object/activity you could include that in the photo.  For example, my son could have been sitting with a toy tractor.  But overall, I think it is best to keep the photo pretty simple to focus on the words. 

Here's my original photo, so obviously I did some enhancements in photoshop. I think the only critical thing would have been to remove the door knob and crop out the door frame on the side.  You could do that in most of the free photo editing programs, or if not you just want to make sure you position your child against a space without anything like that which would have to be removed.
For the final step, I just used a few different fonts and typed over the photo.  I am really unfamiliar with anything but Photoshop, but I would think this is possible in the other photo editing programs?  If not, Photoshop Elements is not that expensive and well worth the money!!! I made my travel cards with it (posted last week), I use it for digital scrapbooking, and of course I edit all my photos with it (and sometimes I use Lightroom too).  You can download a free 30 day trial from the Adobe website if you're interested in trying it. Here is a link:  Adobe Photoshop Downloads

For the past 5 years, I've done a yearly family scrapbook and then 2 years ago started doing a book for each child on a yearly basis.  I will share those soon (when I get caught up!), but they are alot more work than this photo.  As moms, we always intend to record more memories than we are able to end up actually doing.  This is a great quick way to make sure you get some of the things about each child recorded yearly.


Read more...

Lunch Box Notes

>> Sunday, August 28, 2011

While I don't have any kiddos going to school this year, I have been in a back-to-school mode for some reason.  Maybe it's because I have a lot of friends who are teachers or that most of my friends have a kid that is at least going to pre-school.


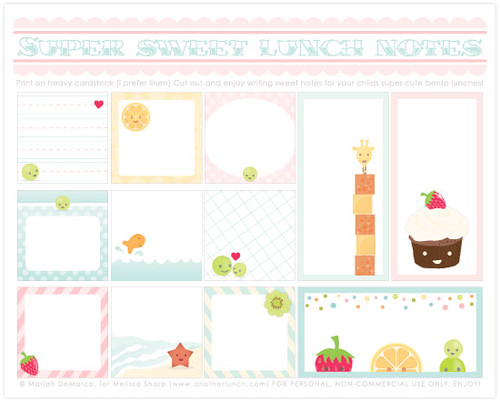
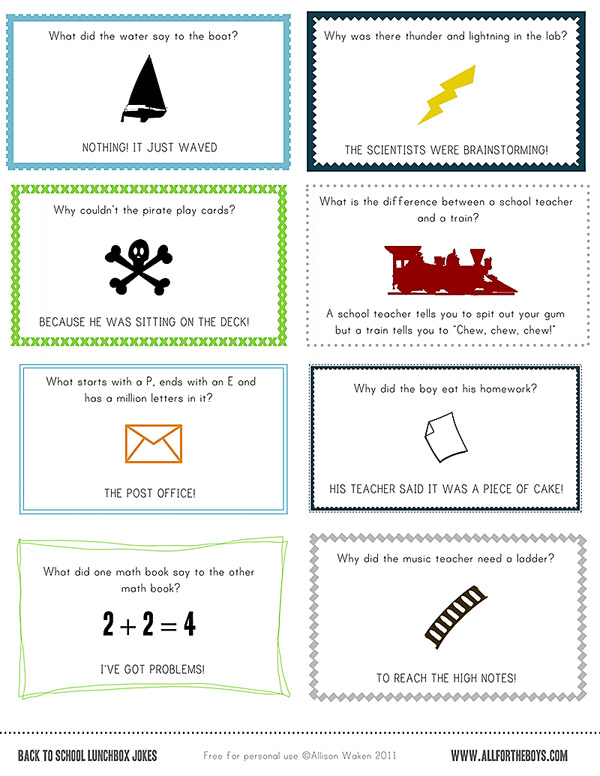
Anyway, one thing my mom did occasionally and something that I want to do for my kids when we get to this stage, is put notes in the lunch box.  Because she didn't do it every day, it was a nice surprise and such an encouragement to see!  I don't remember what Mom wrote the notes on, but I know it wasn't anything fancy.  But with the help of Pinterest.com (follow me on Pinterest here)and the internet, I found a ton of free printable lunch box note pages.  

Some of these are also suitable for sending in a lunch packed for your spouse as well :)

http://getbuttonedup.com/2010/08/25/tool-free-printable-lunchbox-notes/

http://kelsieandnate.blogspot.com/2011/08/friday-freebie-lunch-box-notes.html

http://silverboxcreative.com/blog/2010/08/lunch-box-notes/

http://freshpickedwhimsy.typepad.com/fresh_picked_whimsy/2009/02/love-notes.html

Ok, so this last one isn't a printable note, but you can also use a toothpick and "write" on a banana.  The note will show up about 1 hour later.  How cool!

Read more...

Photo Shoot!

>> Thursday, August 18, 2011

As you can probably tell from the photos posted on our blog, Lesley's photos are definitely much better quality than mine!  Not only does she have MUCH better equipment than I have, but she also has a great eye for photography and has done a lot of self-teaching, reading, blog hopping, and practicing to help her become even better.  Kinda like I've done for my cake decorating.

Lesley's done some family photos for me in the past, but I knew with her moving it might be difficult for her to find time to take some newborn shots of Molly for me.  But she squeezed me in right as Molly turned 1 week old.  Here are some of my favorite shots of Molly and the boys.


Thanks, Lesley!!

Read more...